


yyznails
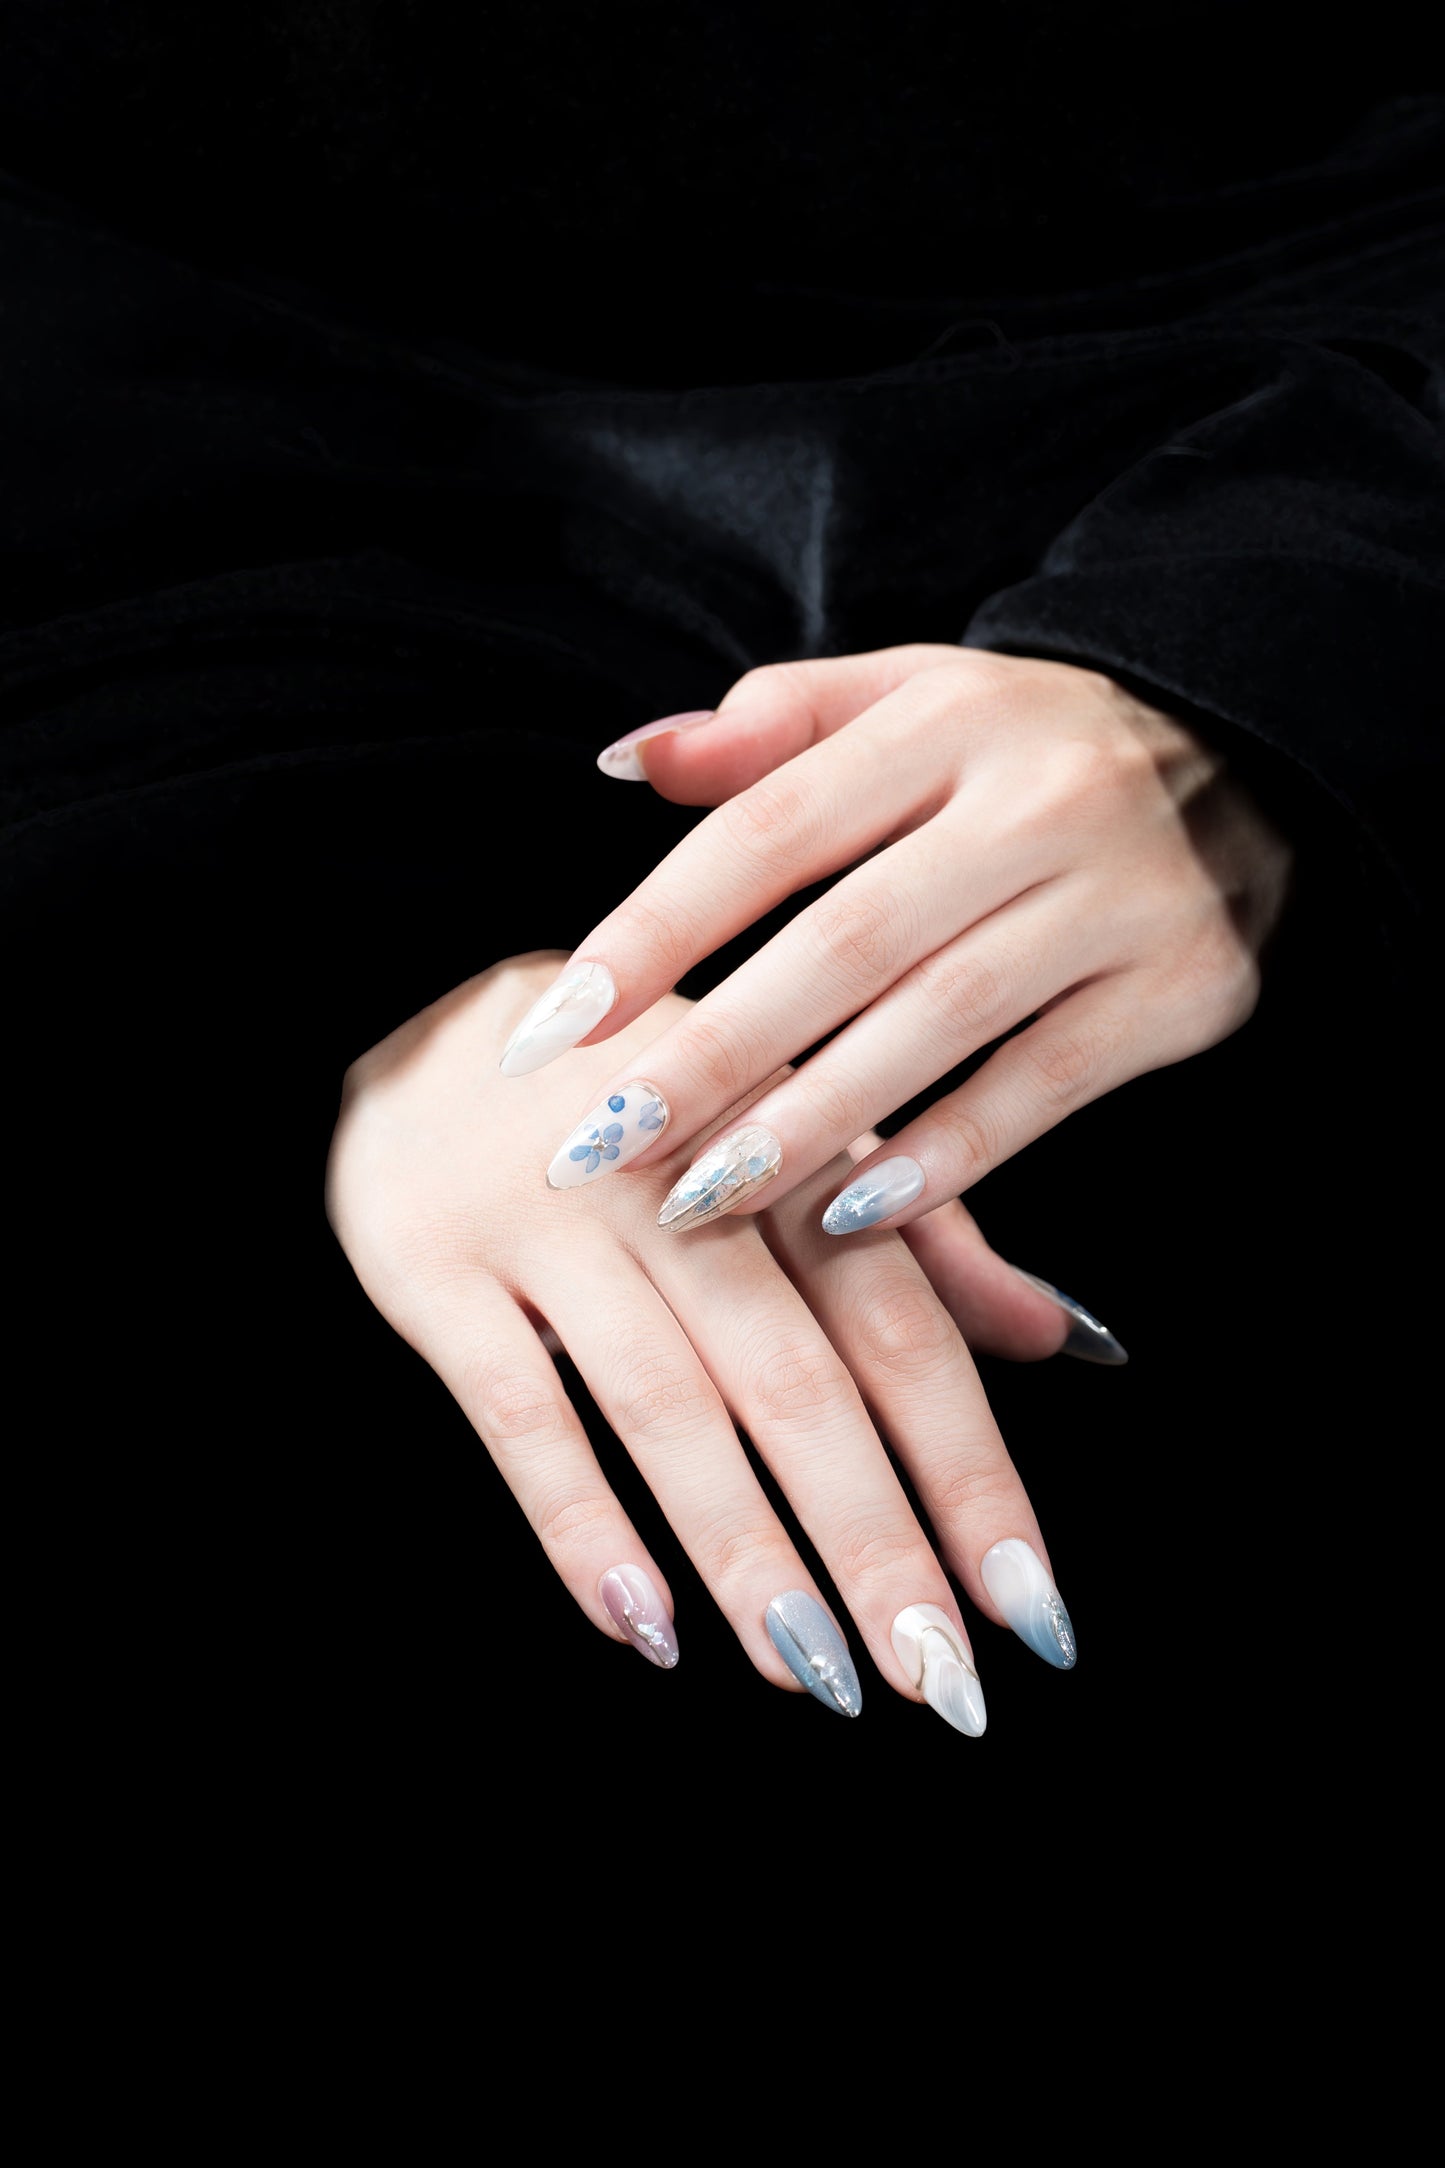
Spring Rain
Spring Rain
Couldn't load pickup availability
This press-on nail showcases exquisite craftsmanship; the curvature of the nail piece fits seamlessly with the natural nail, ensuring comfort without any sensation of a foreign body. A variety of styles is available, ranging from fresh nude colors to personalized hues. Whether for daily commuting, a dinner date, or attending parties, you can find your perfect match.
It employs eco-friendly glue that is gentle and does not harm the nails, adhering securely and resisting easy removal. It is simple and convenient to apply, allowing you to finish the process at home in just a few minutes. You can switch up your style anytime, enjoying the freedom of nail art, ensuring your fingertips always exude unique charm.
Share


HELPING YOU COMFORTABLY USE PRESS-ON NAILSHow to Measure Your Nail Size?
Frequently Asked Questions
How to measure?
- Place the measuring tape tightly against the widest part of your nail.
- Record the distance between the left and right edges.
- Compare your measurements with the size chart of the press-on nails to find the closest fit.
How to apply?
- Jelly Glue(about one week)
- Wash your hands thoroughly, use a small nail file to buff all your nails lightly, and then clean them with an alcohol wipe.
- Choose a jelly glue of the right size and stick it onto your nail. Press it firmly, then peel off the protective film.
- You can use a small wooden stick to make a few marks on the glue surface, then use a hairdryer to heat the glue.
- Align the press-on nail at a 45-degree angle with the base of your nail, then press it down toward the tip. Finally, hold it firmly in place for 30 seconds, and it’s securely attached!
- UV Jelly Glue(about two weeks)
- Wash your hands thoroughly, use a small nail file to buff all your nails lightly, and then clean them with an alcohol wipe.
- Take out a UV jelly glue of the right size from the light-blocking bag, and place the remaining glue back into the bag.
- Stick the UV jelly glue firmly onto your nail, press it down securely, and then remove the protective film.
- Use a nail lamp to evenly cure each press-on nail from all 360-degree angles, ensuring every part is properly exposed.
- For light-colored nails, cure under the lamp for 3-5 minutes. For dark-colored nails or those with 3D decorations, cure for 5-7 minutes, and this completes a very sturdy press-on nail.
How to remove?
- Jelly Glue
- Use a small wooden stick to gently slide it between your natural nail and the press-on nail, then carefully lift it to remove.
- Use the other end of the wooden stick to roll off any remaining jelly glue, leaving both the press-on nail and your natural nail clean.
- UV Jelly Glue
- First, use a small wooden stick to pry open a small gap between the press-on nail and your natural nail.
- Drop the nail remover solution into the gap.
- Use a small wooden stick to gently pry along the gap, allowing the remover solution to fully contact the UV jelly glue. This will make it easy to remove the press-on nail.
- Clean off the glue from the press-on nail, and it will be ready for reuse.
YARETZI
With an altruistic heart, we act to benefit the greater public.